Before reading this tutorial, you should first familiarize yourself with Layer Masks. Click here to read that tutorial first.
Sometimes the images you work with are way to contrasted and you want that slight Film Noir feel. Here’s a simple tutorial on how to achieve that effect.
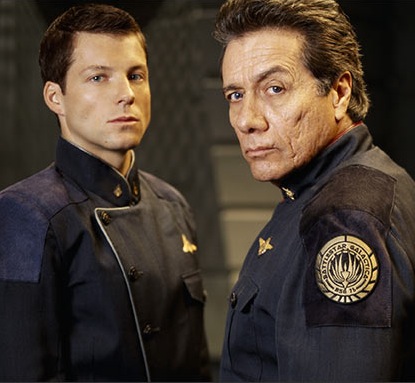
First you start with your image:

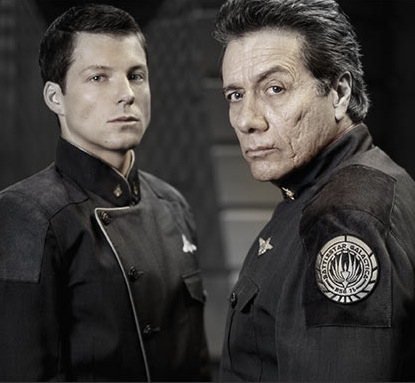
Now create a new layer and fill it with black. Then set that layer to Hue. This should have turned everything black and white. Then create a layer mask on that layer and with a round soft brush and opacity of 30% or less, brush gently on the areas you don’t want to be fully black and white. For this example, I want the faces and parts of the uniform to show a tint their original color.

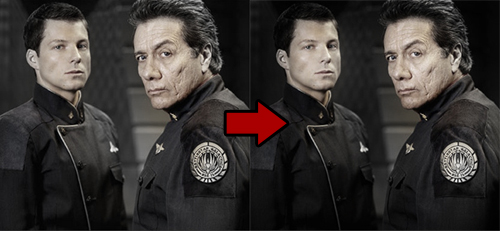
Next create a new layer and set it to soft light. Using a soft round brush with about 50 opacity, brush the areas in black where you want there to be a darker shade. On the same layer, you can brush with white to highlight the areas you want to be brighter. As shown below, I made the top and bottom of the image darker but their faces brighter to show contrast.

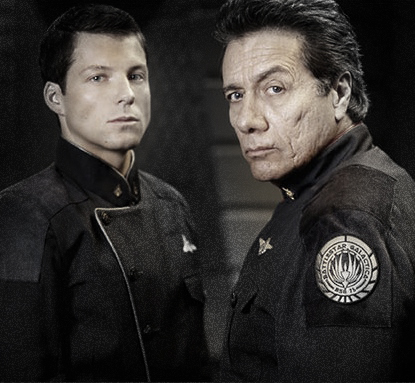
The last step it to add a little Noise Filter to spice things up. Create a new layer and fill it white. Then go to Filter>Add Noise and set the noise to about 150%, Uniform and be sure it is Monochromatic. Then set the layer to Soft Light and a low opacity of about 20-30%. Create a layer mask on this filtered layer as well and with a soft round brush of 50% or less, brush black on the parts you don’t want to have that much noise on. I did this on the faces because I don’t like having too many spots on skin. Voila, you are done.


